Diary Collages
Background
I have clear memories of discovering collage as a 16 year old student in RISD’s summer pre-college art program. Seaver Leslie and Bruce Helander were my teachers, and I became a hoarder of paper scraps and ephemera for several years after. Looking back, it was in doing these abstract collages that I honed my own sense of design and order on the two-dimensional plane.
I’ve been incorporating this assignment into my classes for over 20 years; whether in a Drawing Class, 2D Design, or currently in my freshman Drawing/Imaging classes. These days, this assignment is placed toward the end of the semester after we have covered much of the hard stuff like design and composition, perspective, figure drawing, Illustrator and Photoshop, color and value.
I present this concentration as a break from the rigorous assignments preceding with their strict parameters. It’s an exercise in letting go and surrendering to the process with no planning or predetermination.
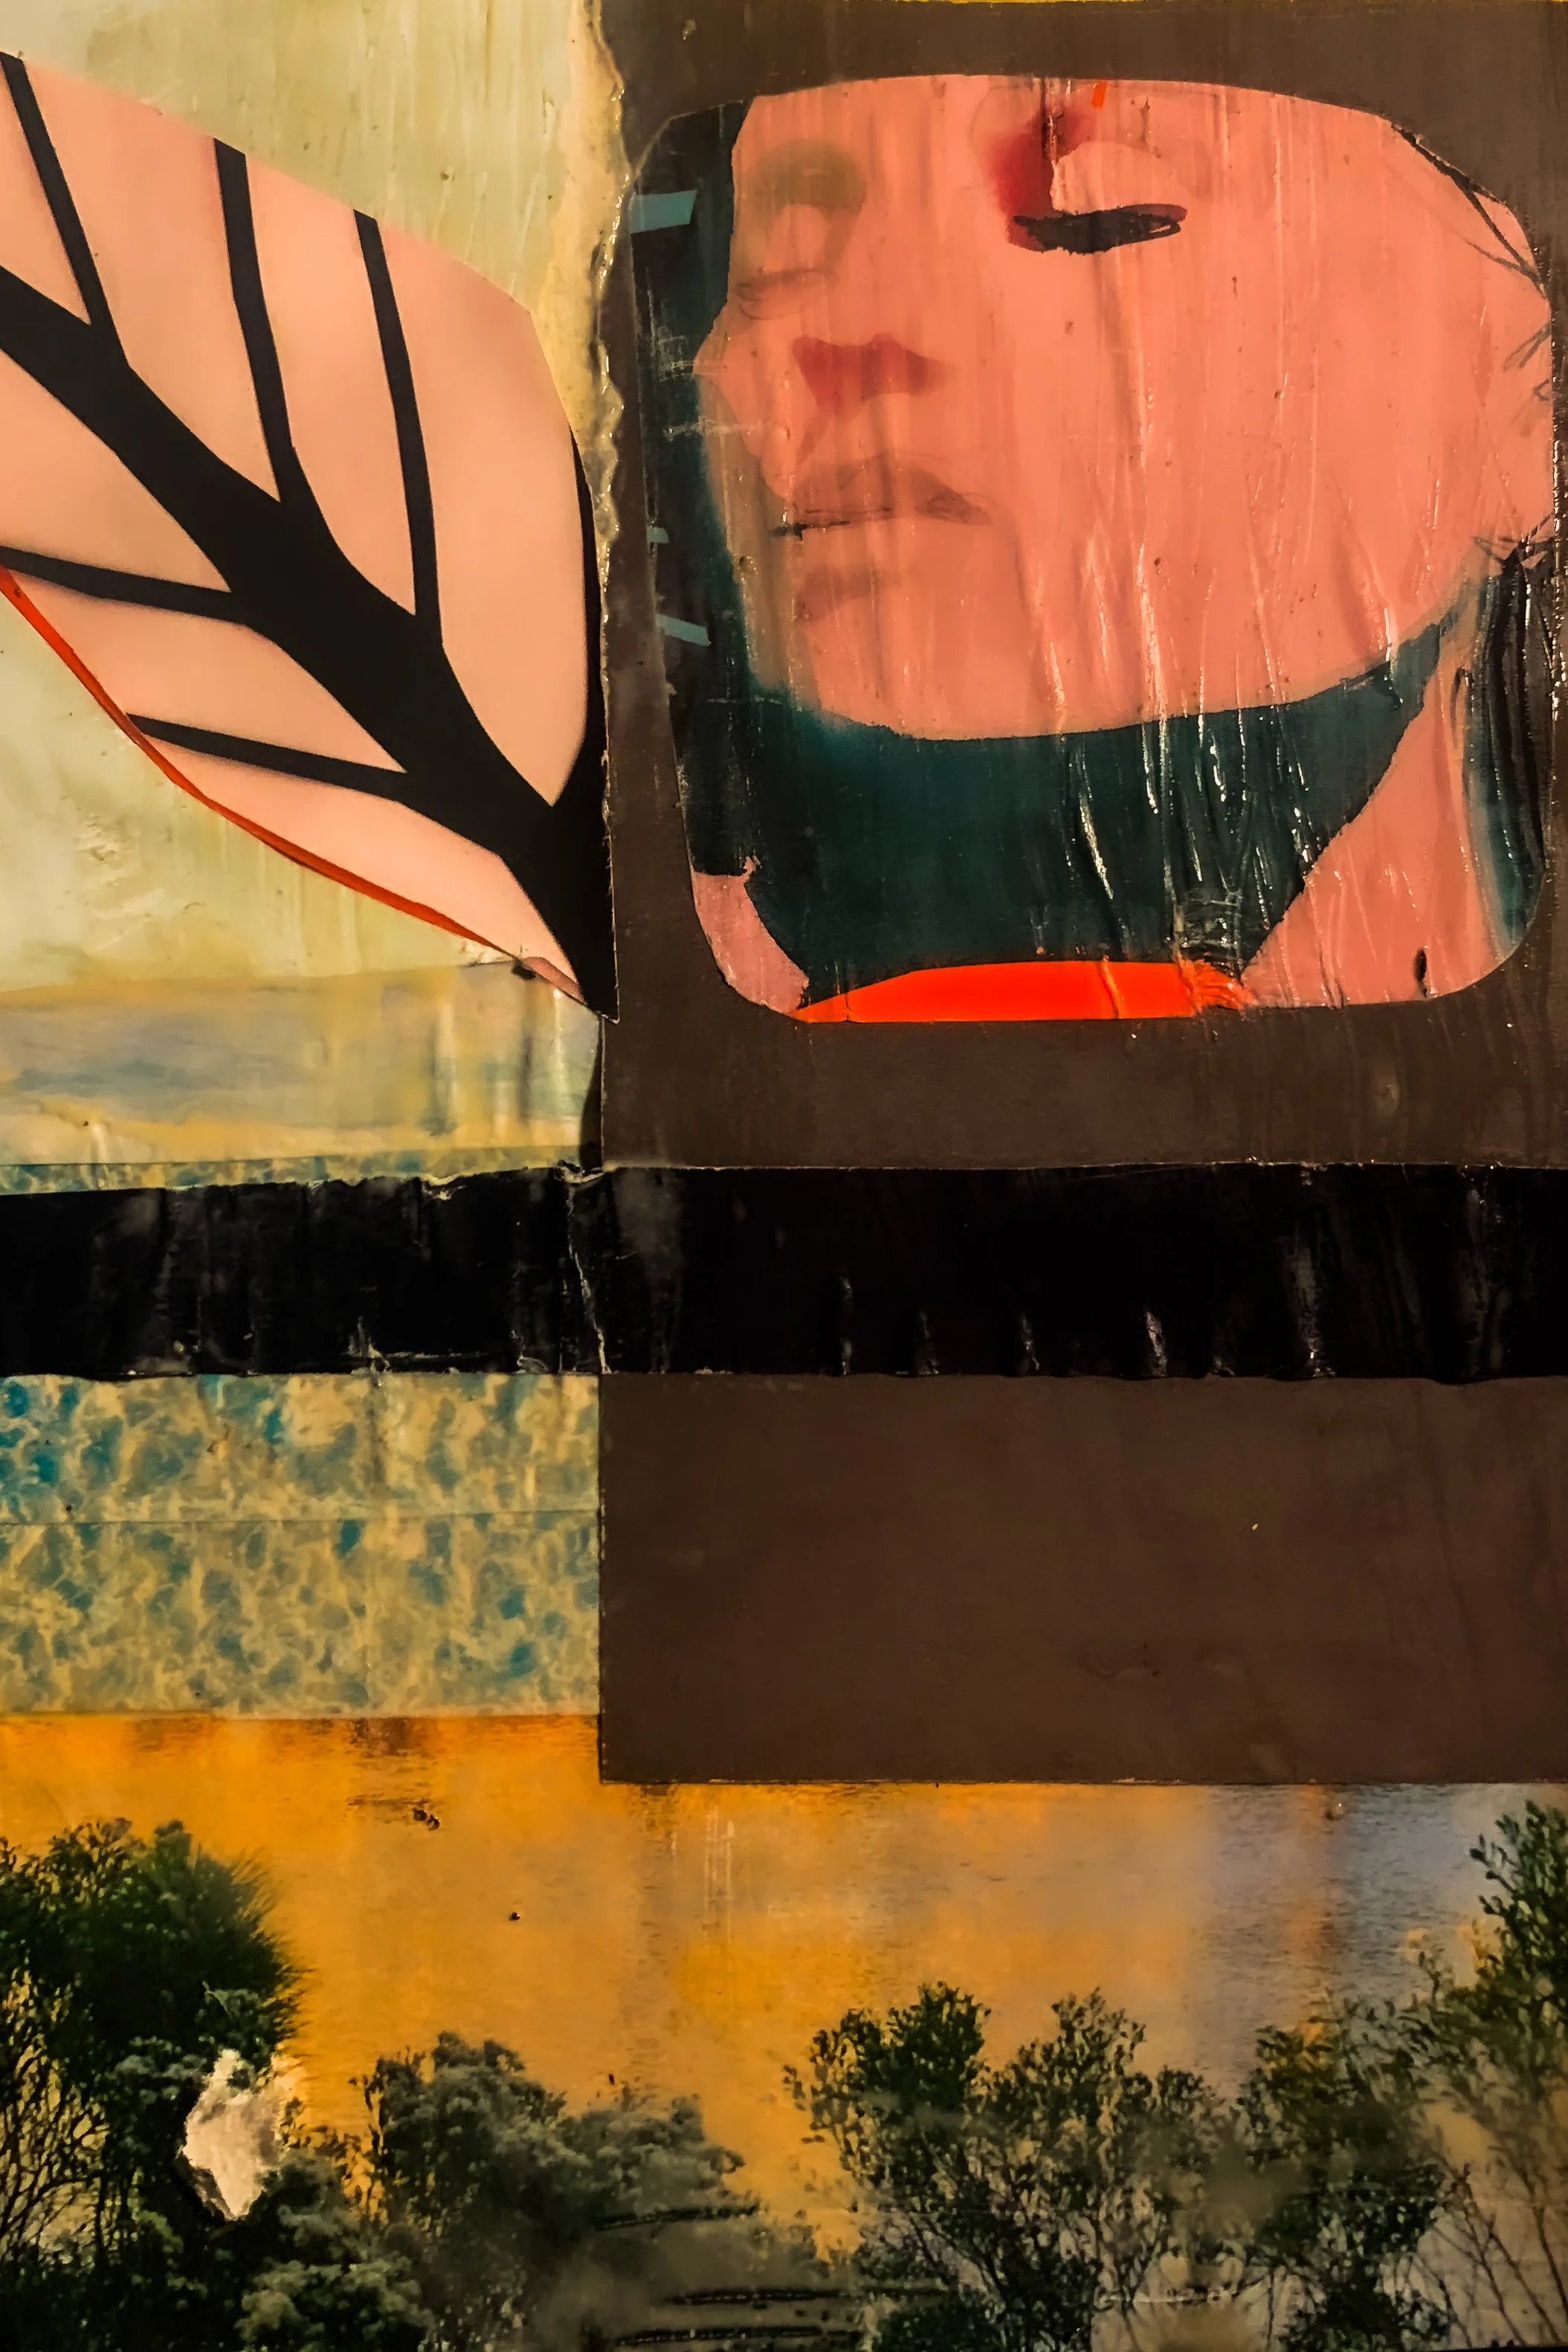
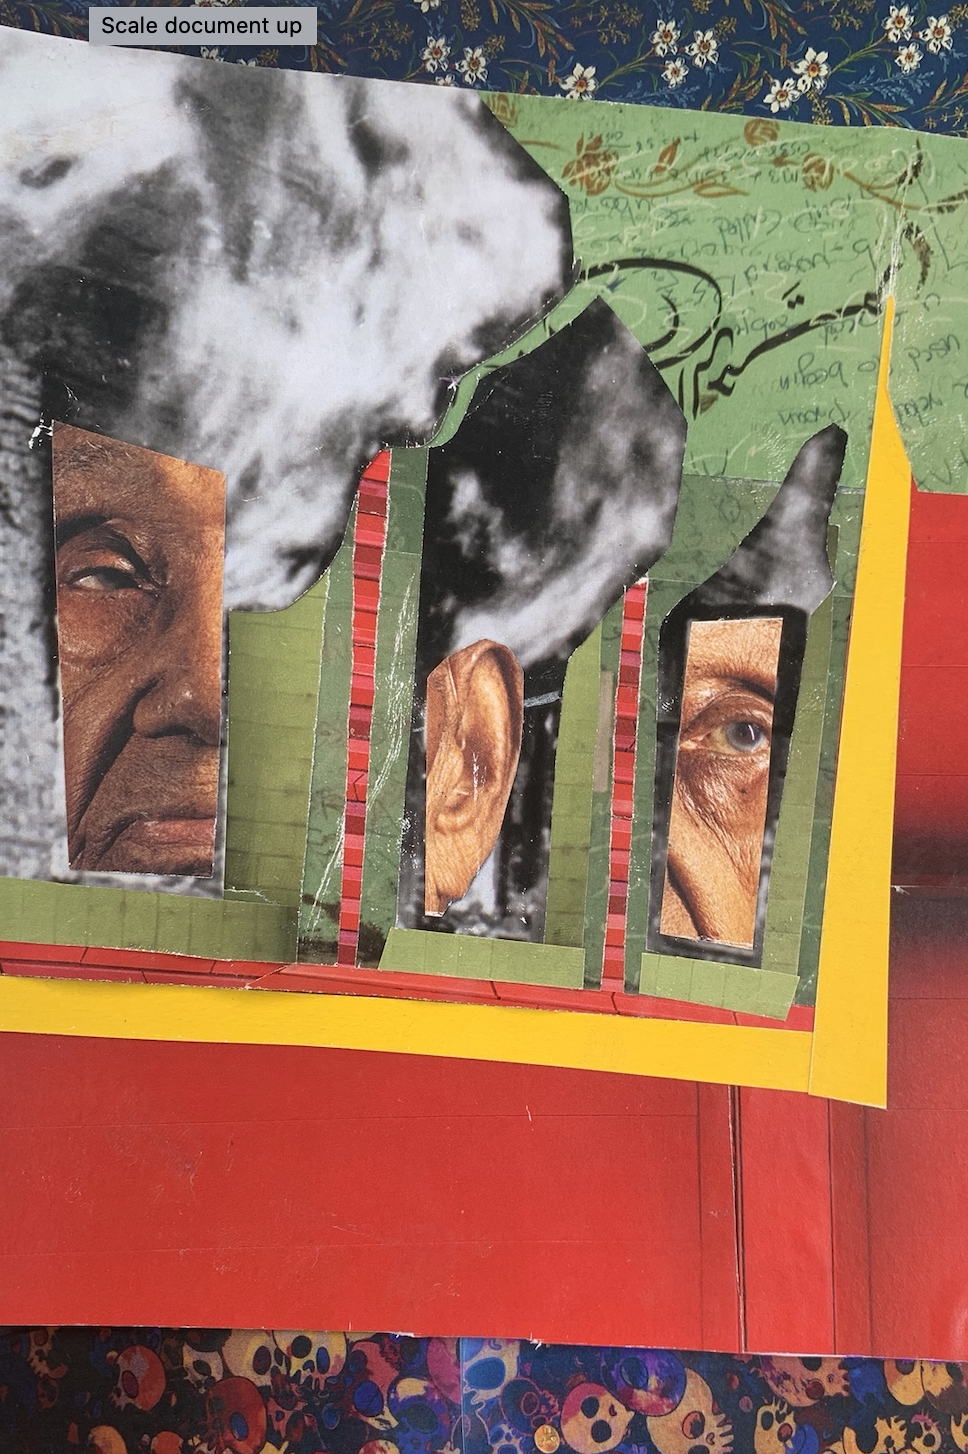
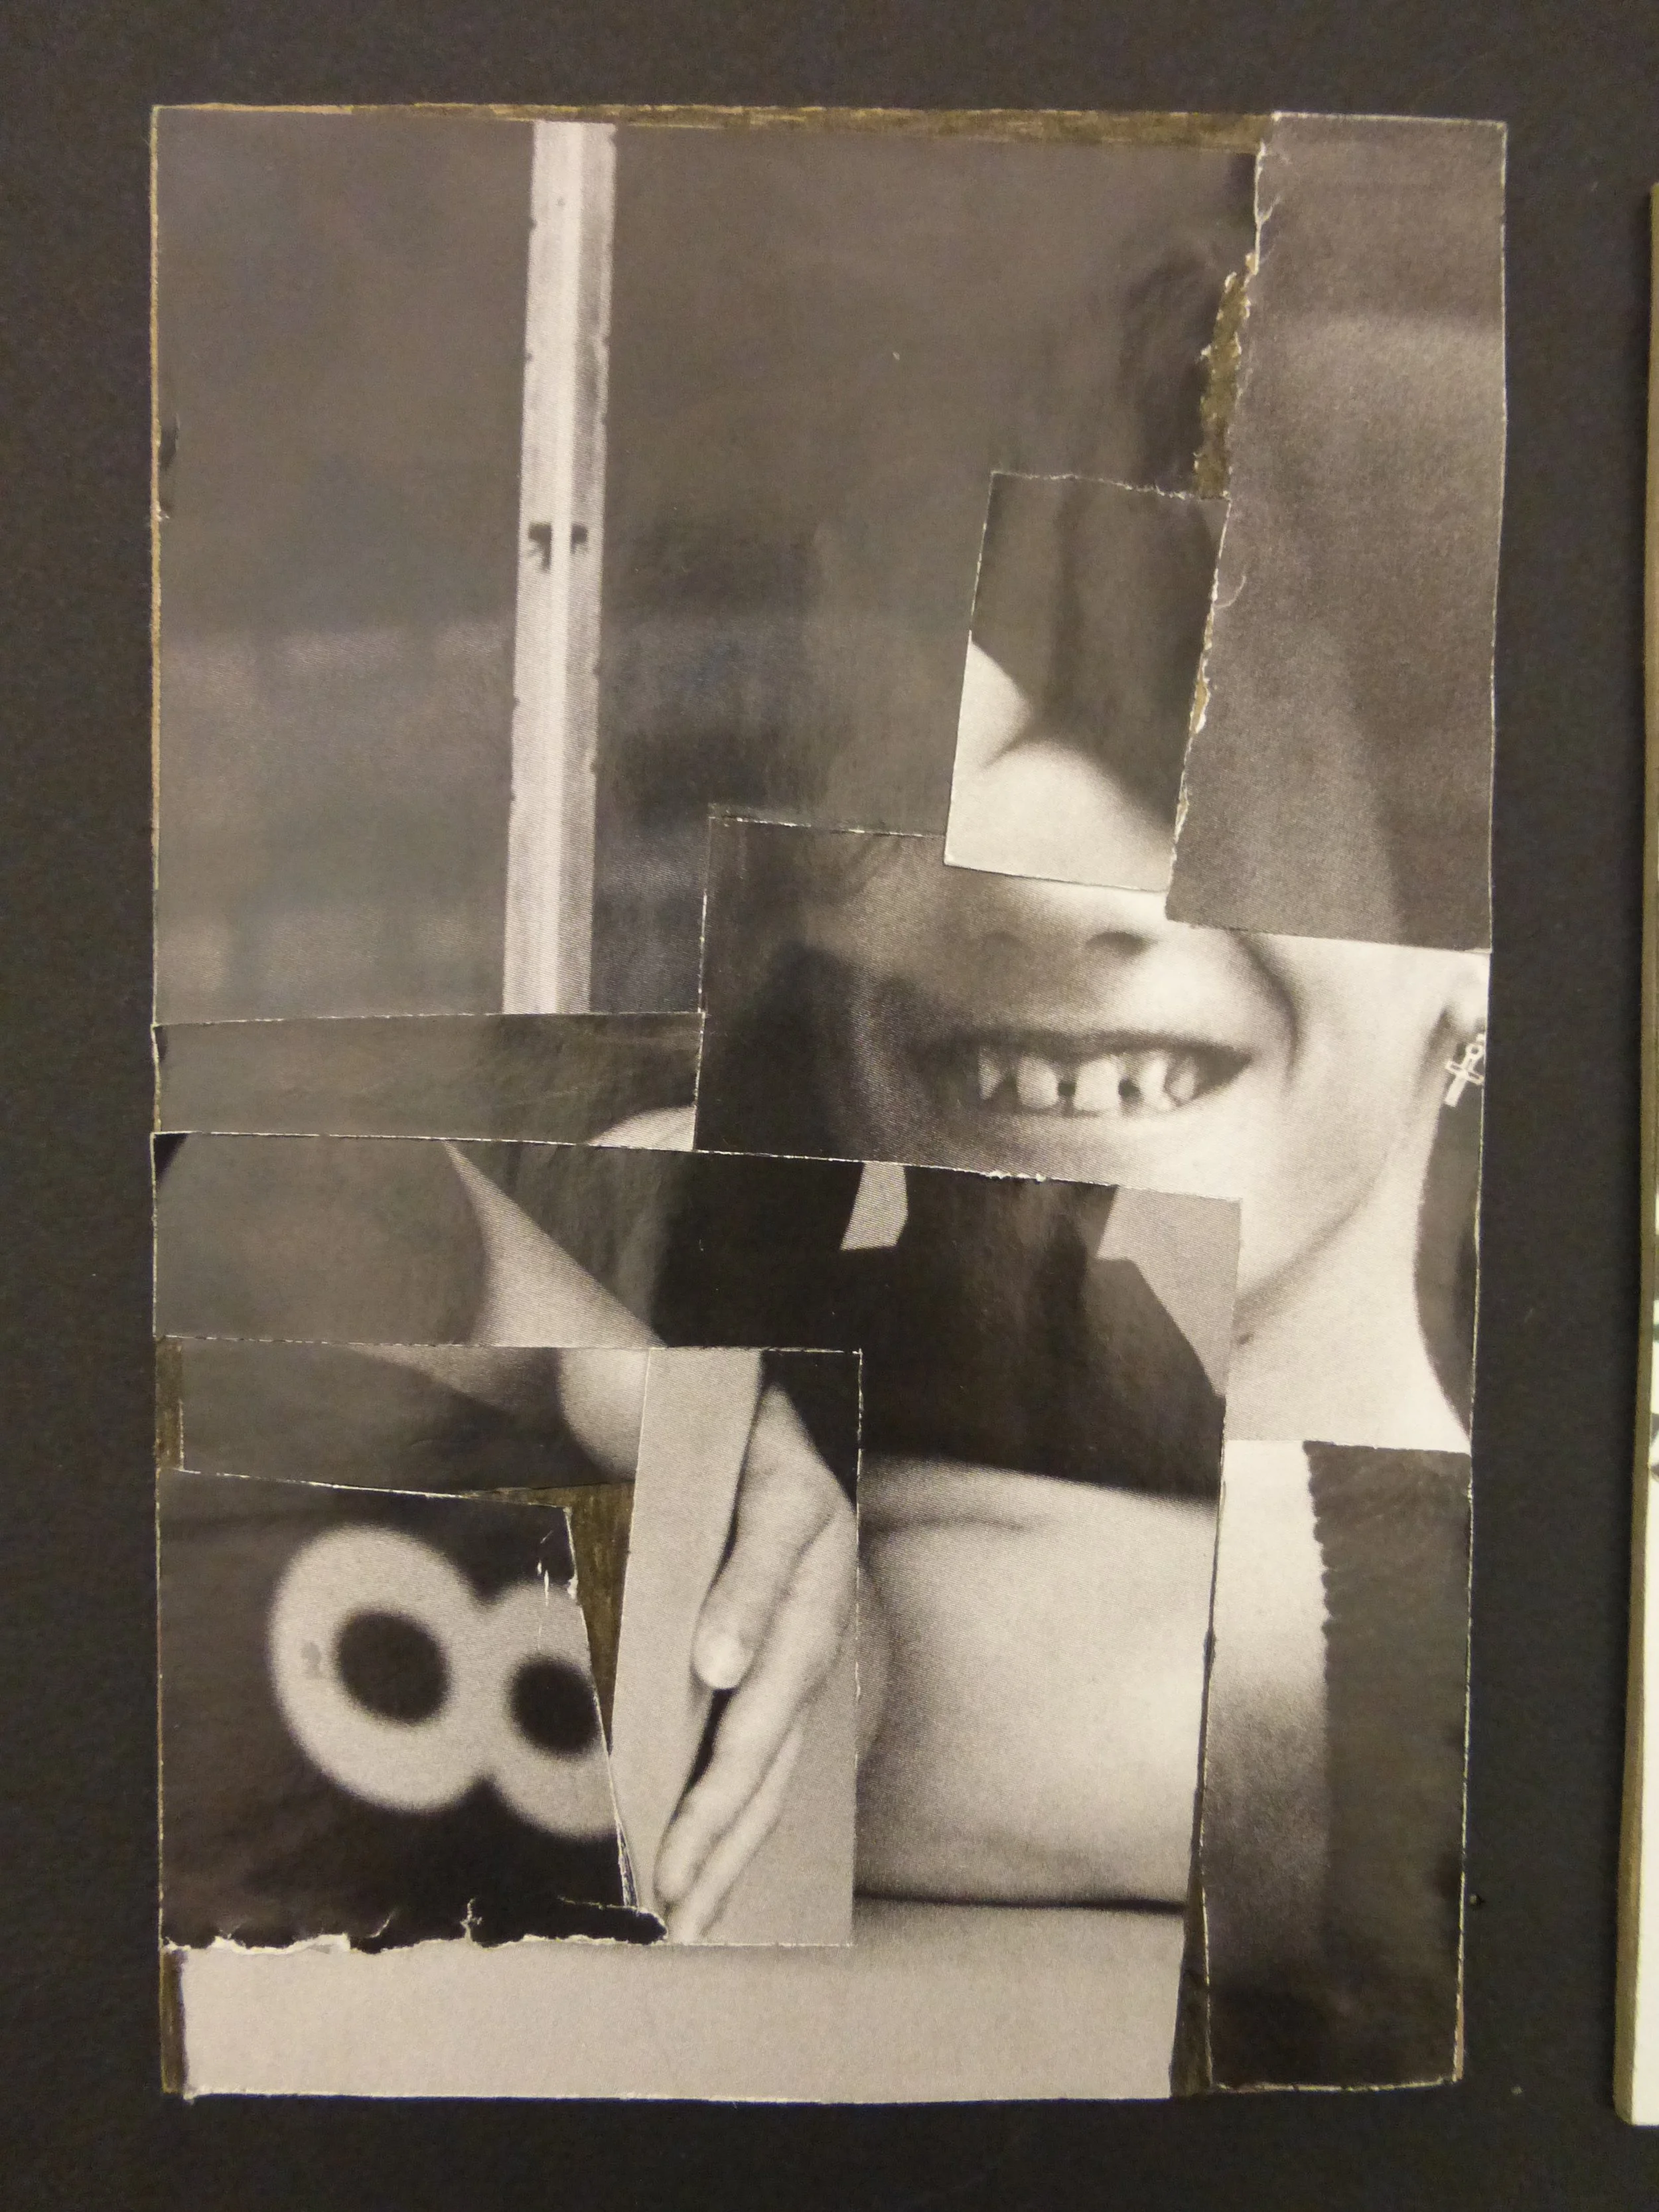
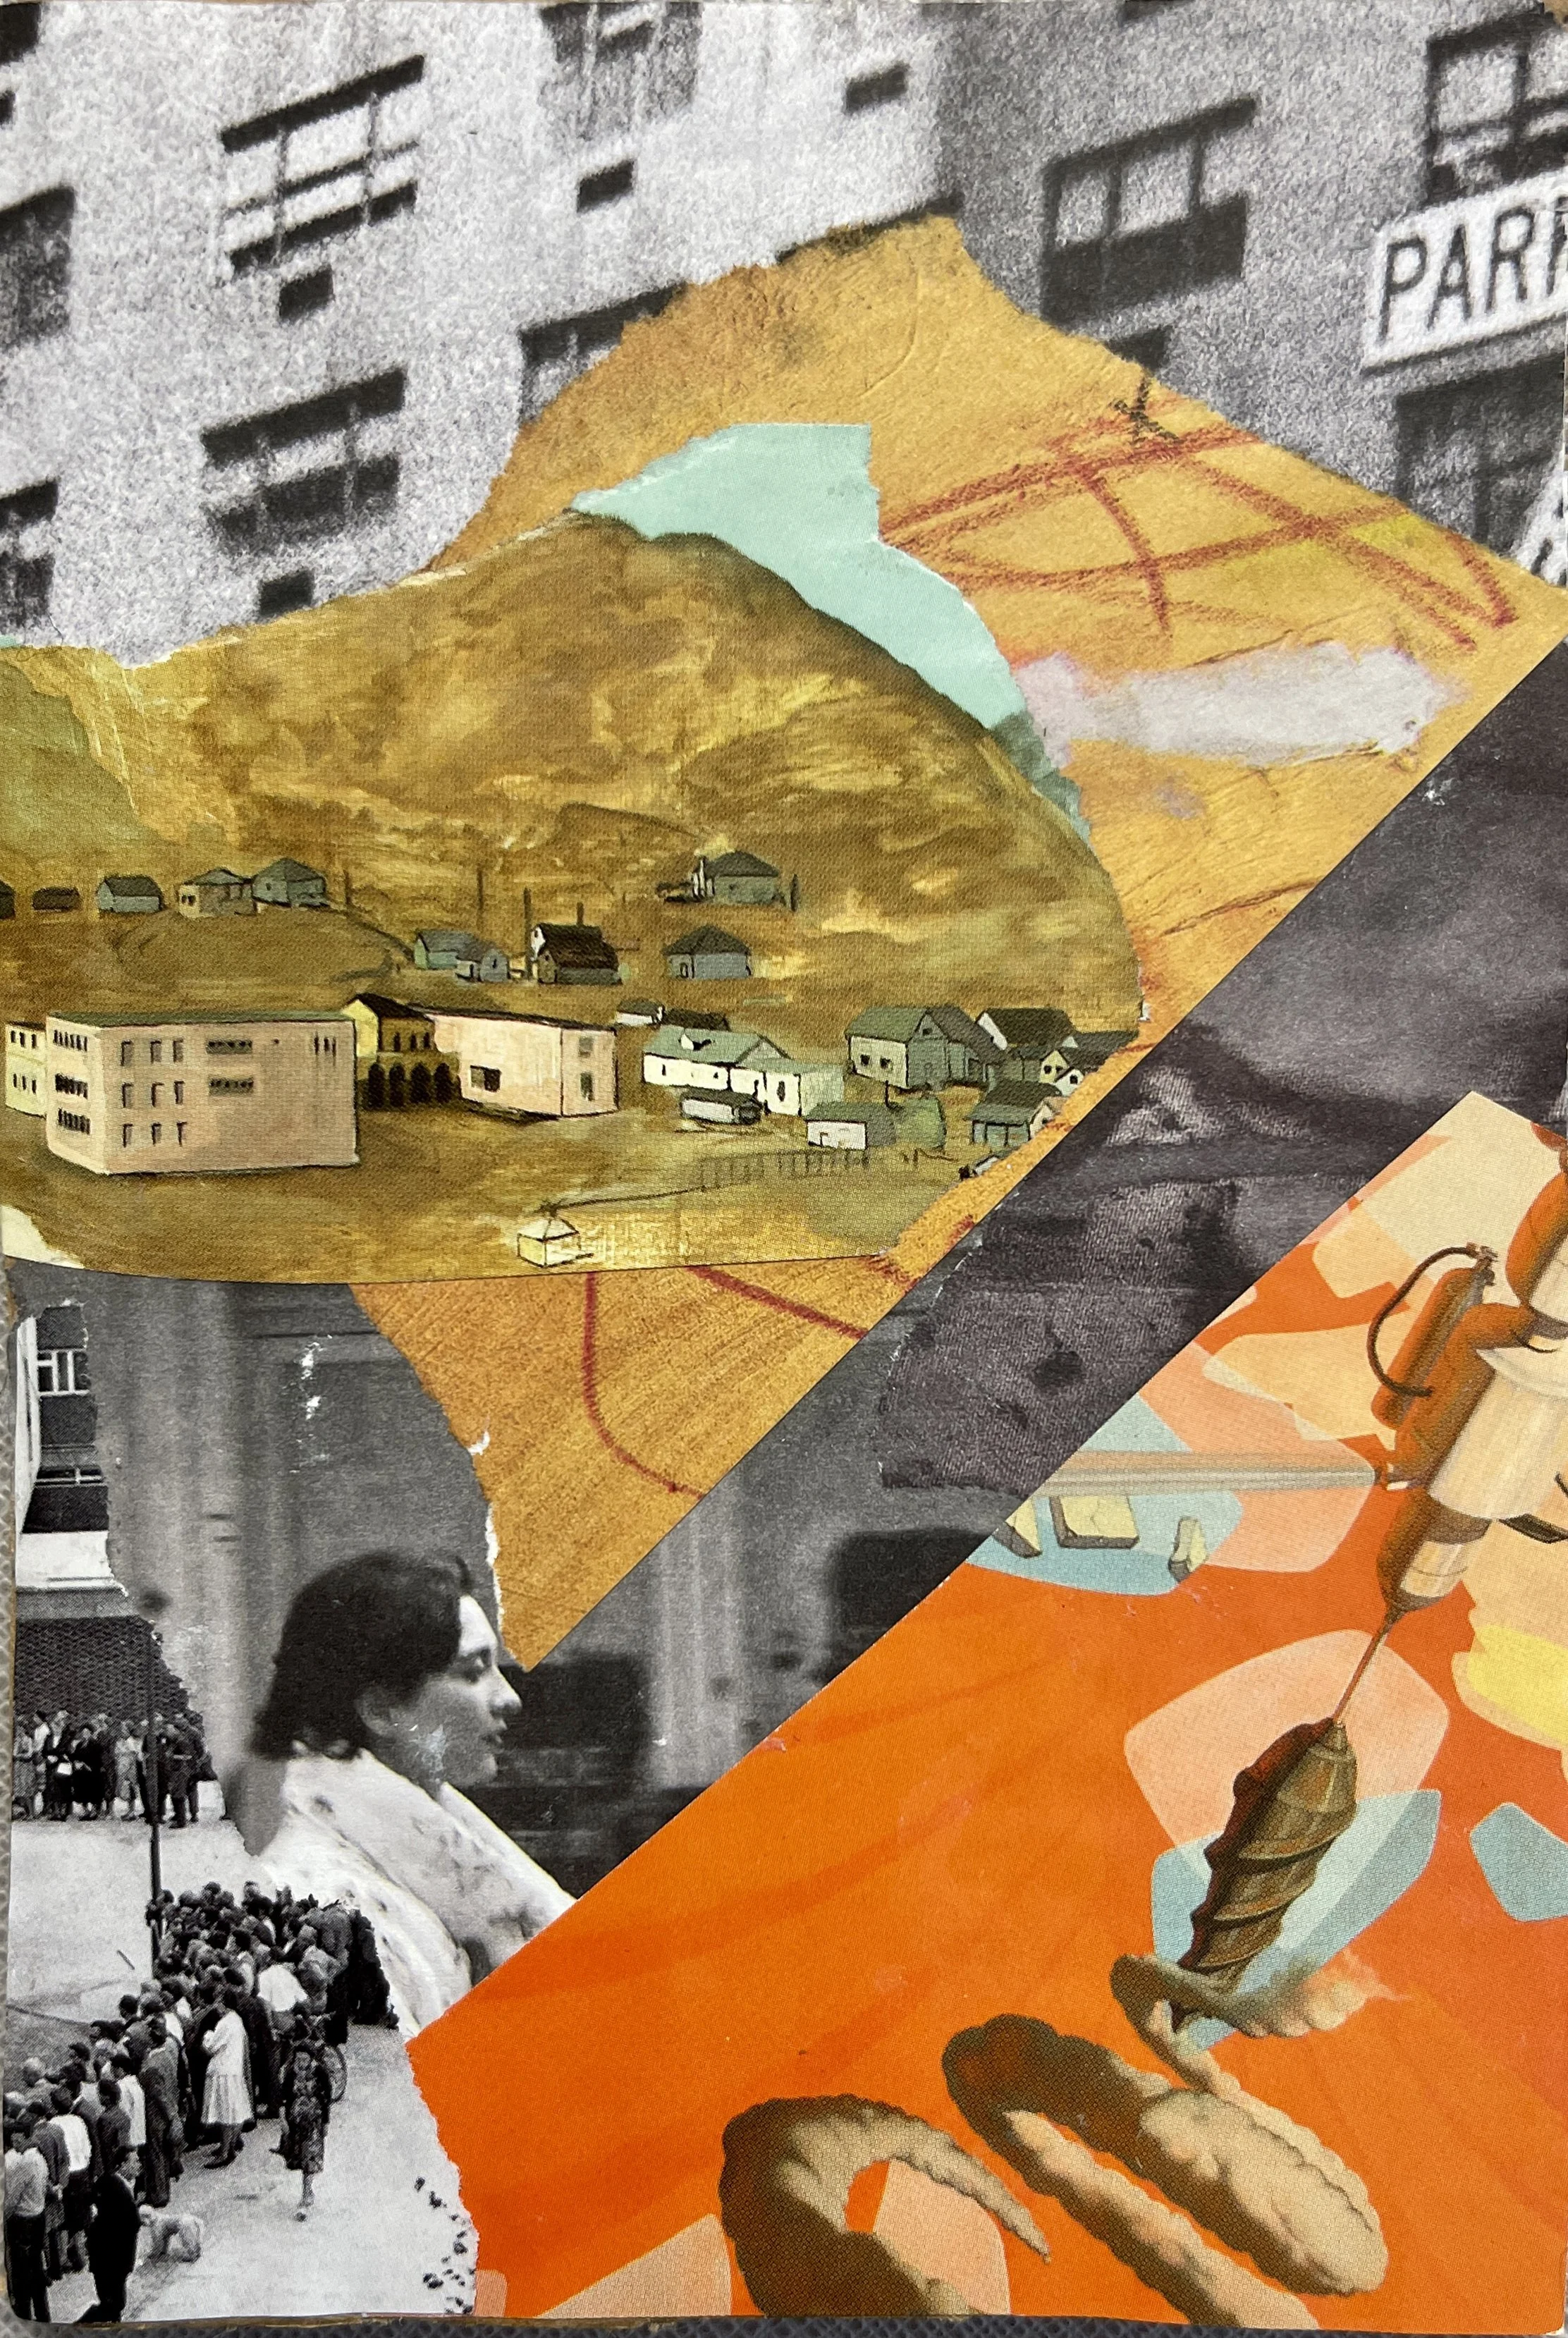
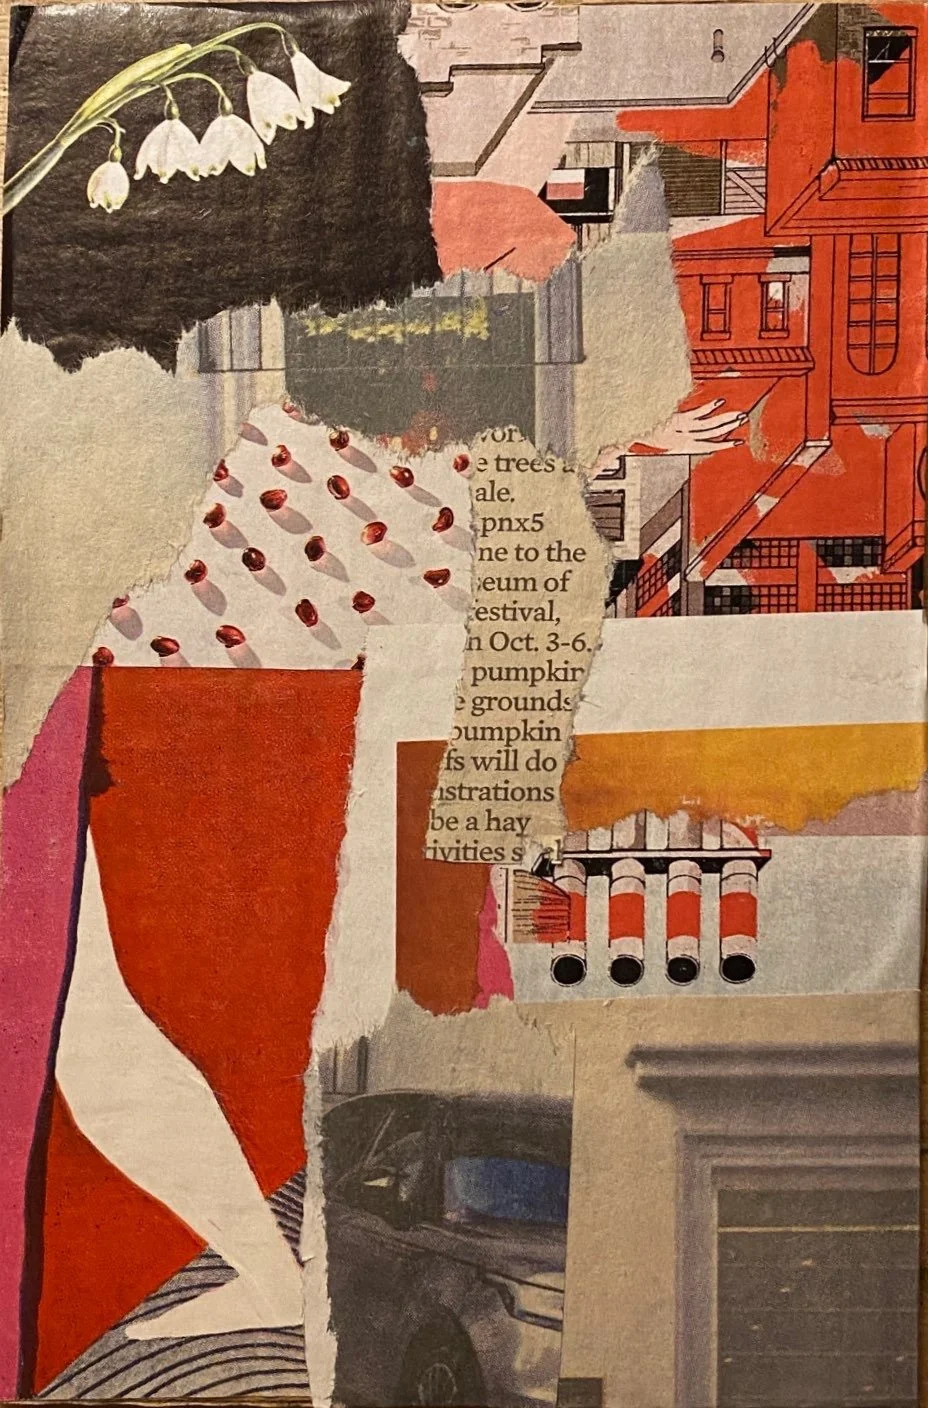
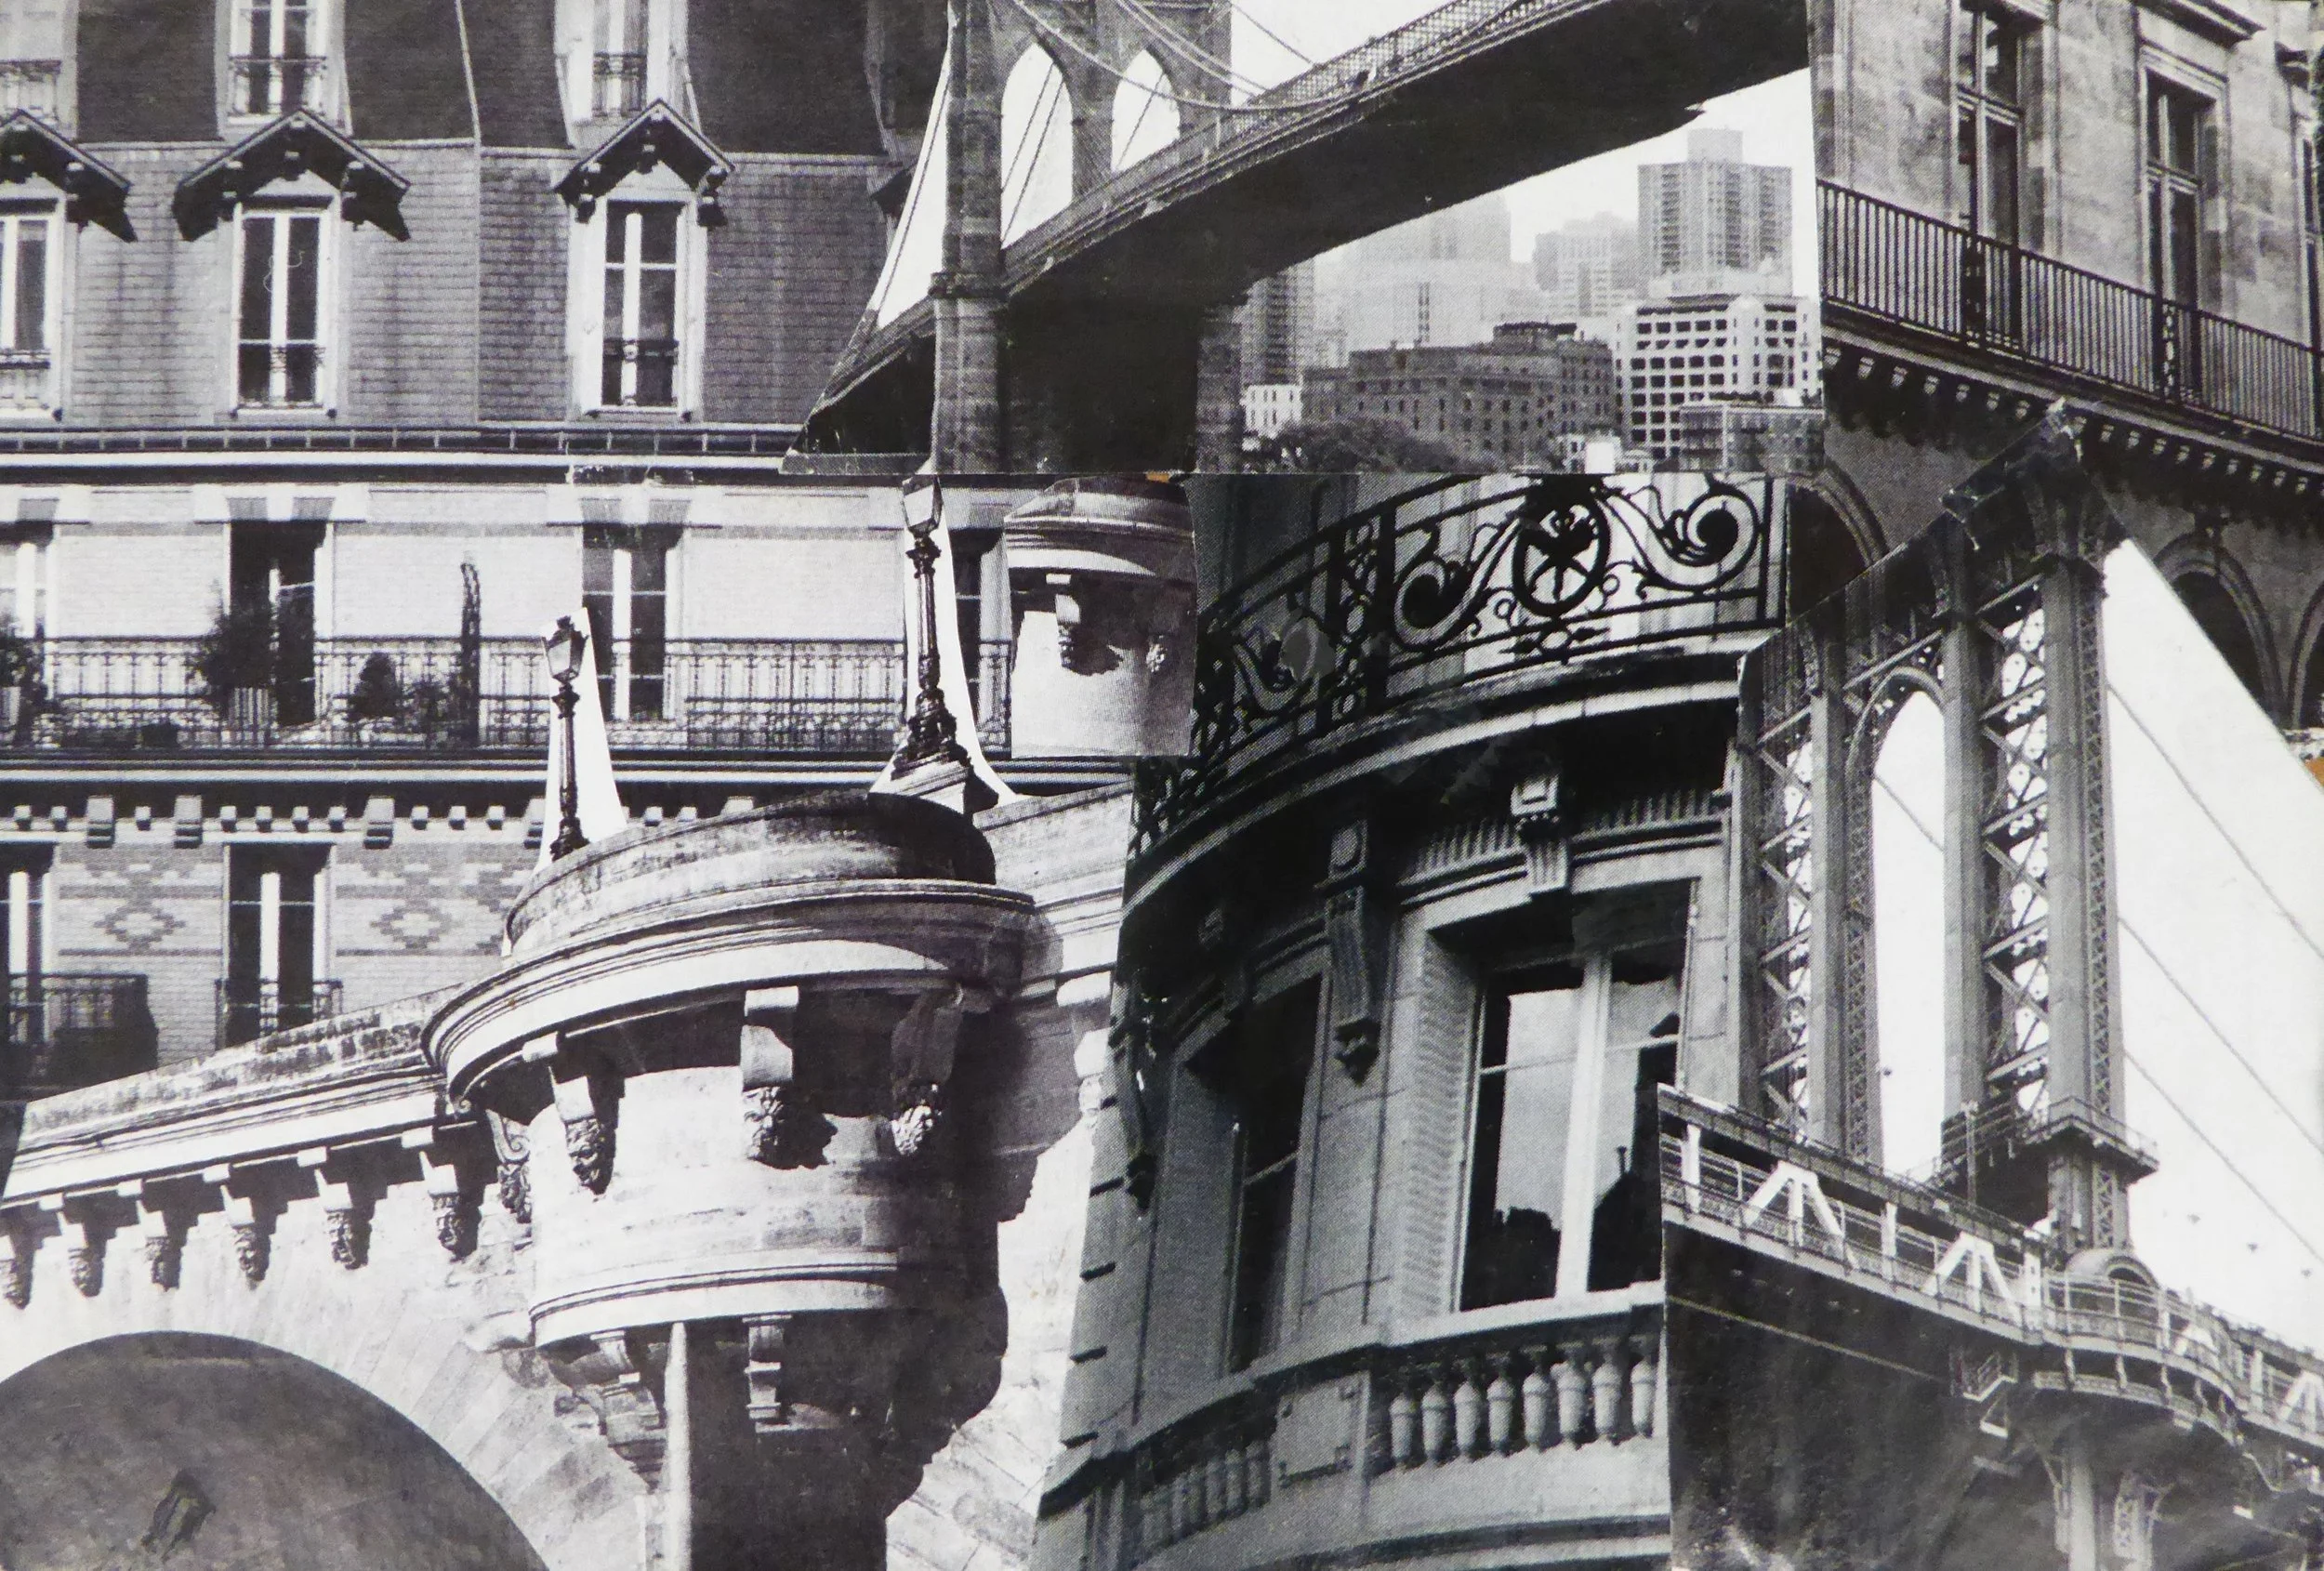
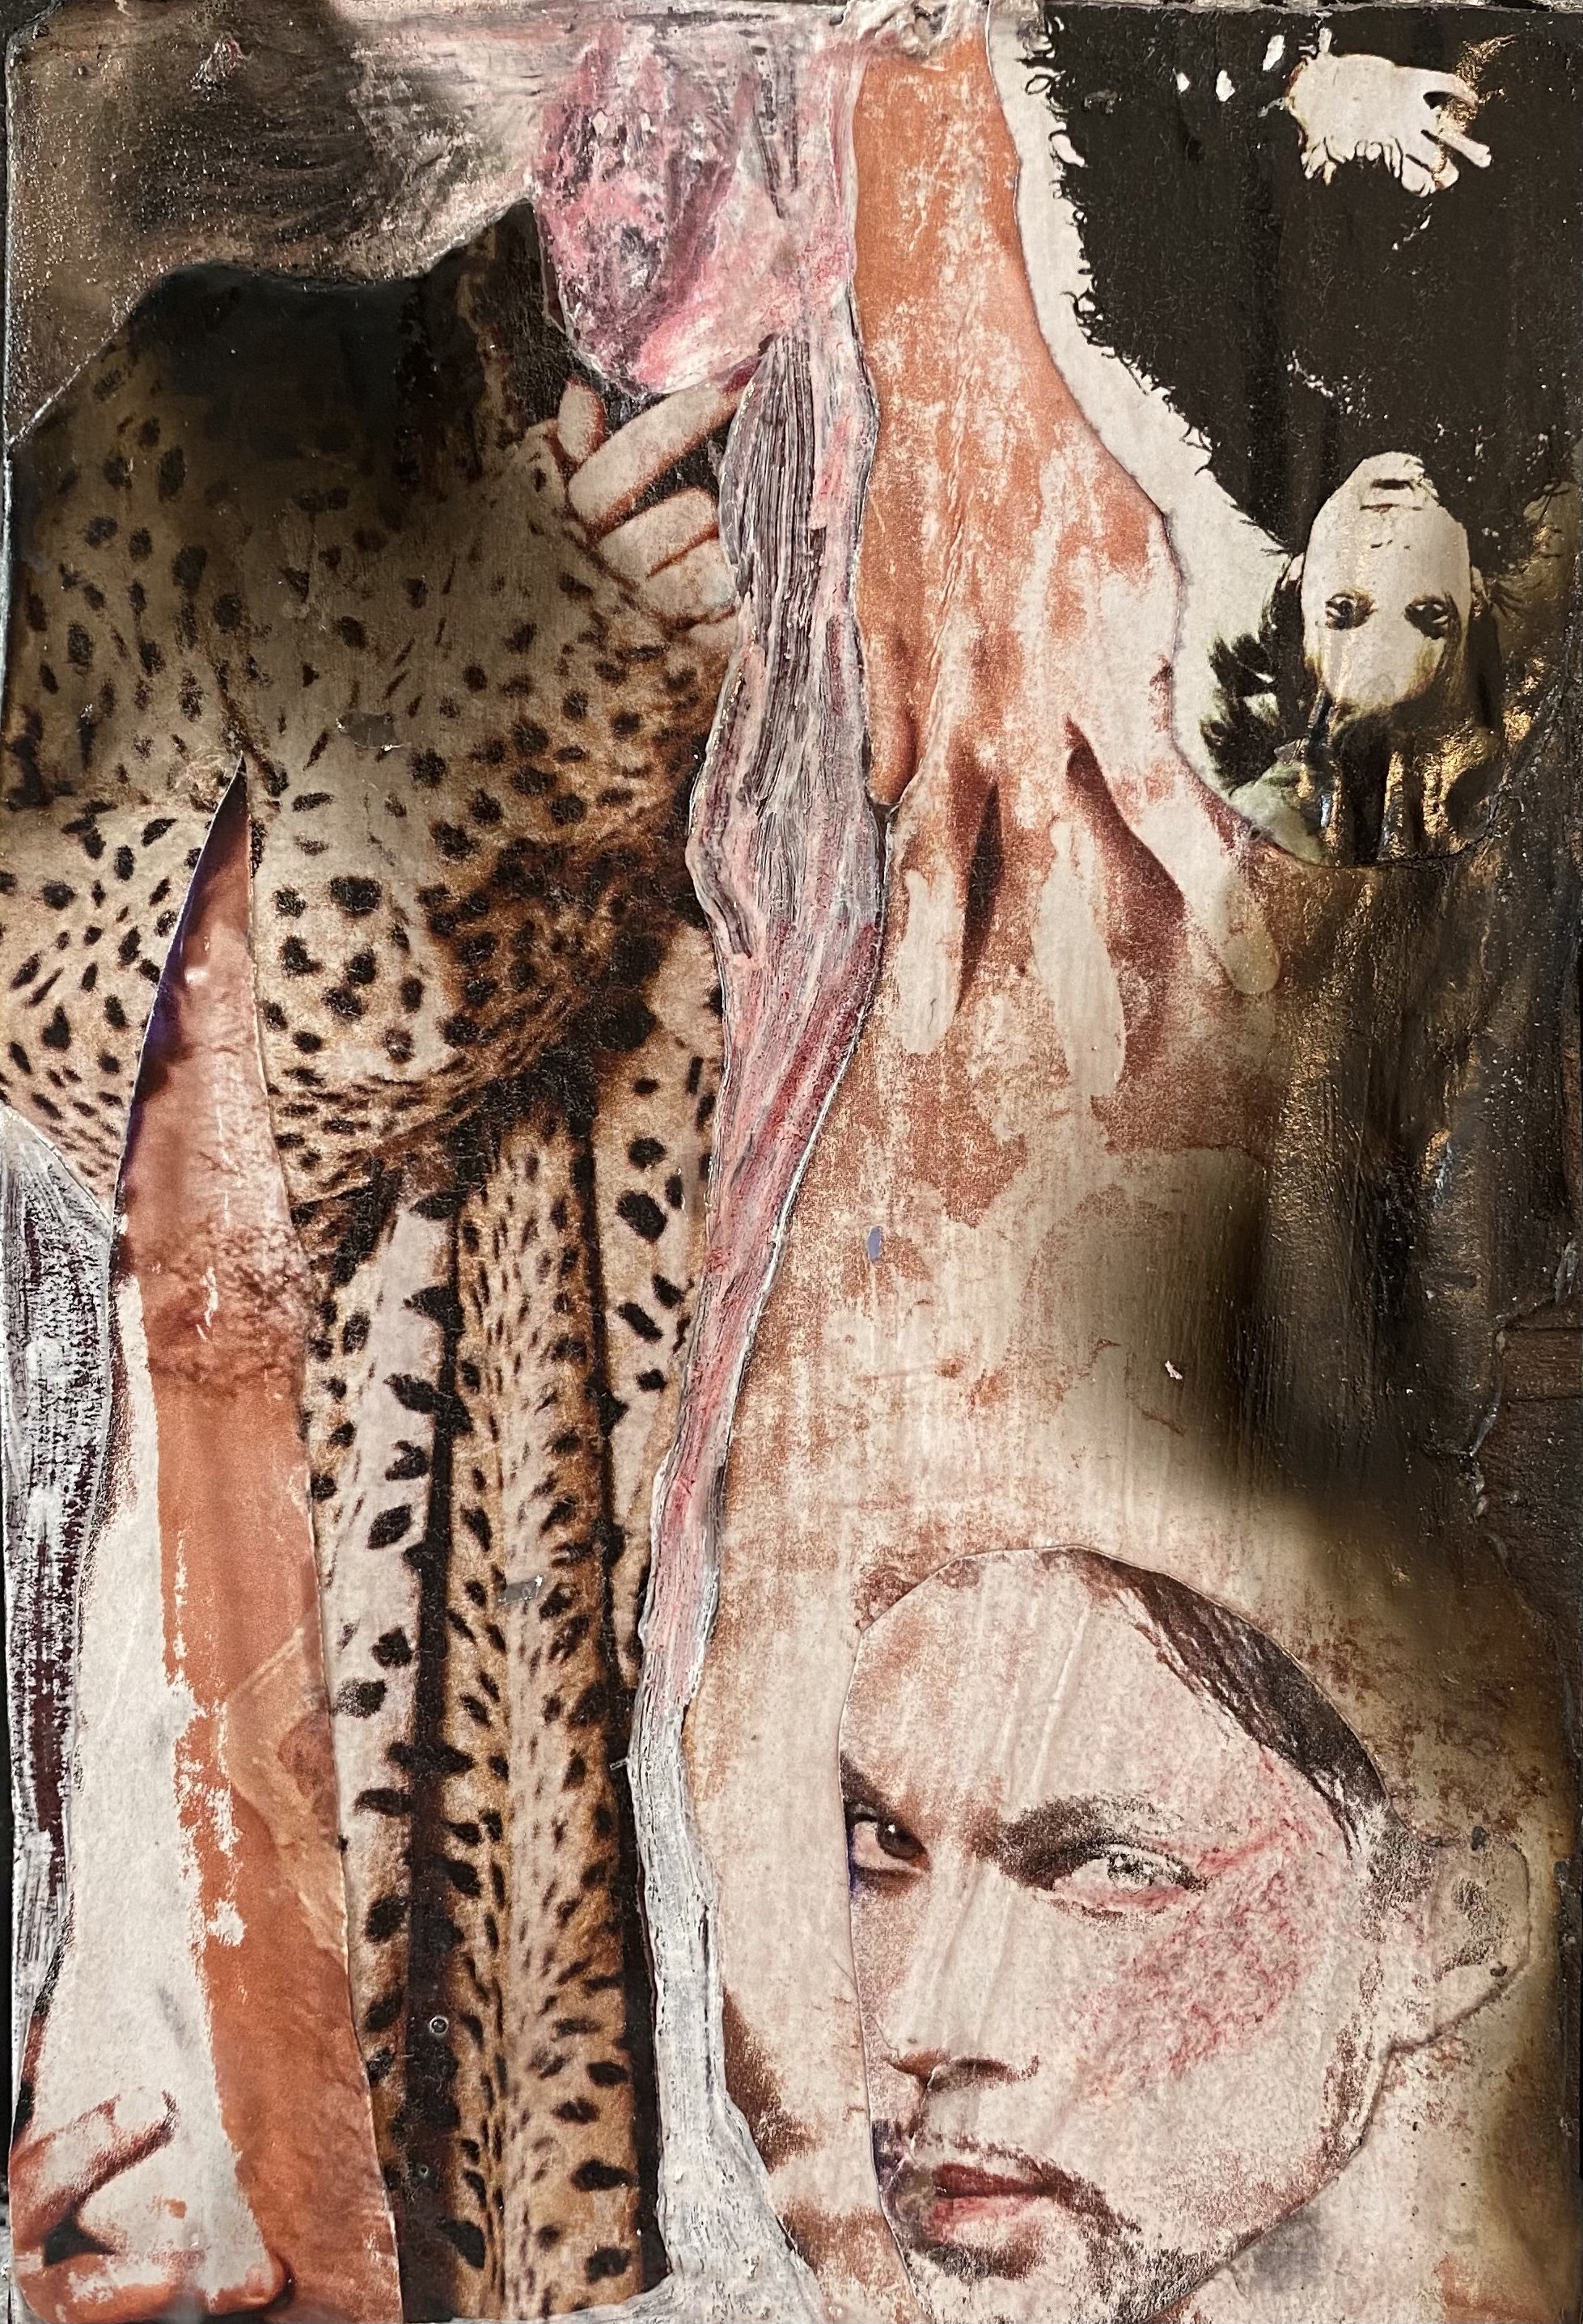
Student Examples- Slideshow #1
Step by Step
To begin, I instruct students to randomly choose a piece of paper and glue it down anywhere on their 4” x 6” board. Each new fragment placed is a response to the previous one and as the piece progresses, it is their job to read what to do next. This is a tactile exercise using intuition and the unconscious mind to lead the way. A welcome antidote to the demands of a difficult syllabus, students learn to rely on the knowledge they have absorbed to date, and to recognize and utilize happy accidents.
The lesson is completed in the space of a 3 hour studio class, with homework asking students to complete anywhere from 3-6 collages for a critique the following week.
I begin by passing around a group of very beautifully crafted collages from past years to emphasize the importance of craft and expert gluing.
We randomly place and glue the first scrap down together. Then they’re off! I walk around throughout the next hour making sure everyone has enough interesting collage material. If not, I ask others to share. I check on their gluing technique. I make suggestions and often will pull elements myself to show them how they work in their piece. I may call attention to the direction the piece is heading in terms of color, value, density, etc.
I suggest that students start up to 3 different 4” x 6” collages in class, so if they are stuck they can work on another and look again later with a fresh eye.
The last 1/2 hour to 45 minutes of the class is a mini critique, placing all the collages on the center model platform in the room, and asking everyone to call out pieces that they think work and explain why. Often we use a black sketchbook or a white sheet of paper as a ground to allow the collage some breathing room, and also group together two or three collages that speak to each other and begin to act as diptychs or triptychs.
We talk about the difference of working in this intuitive and tactile manner as a means to access subliminal emotional content. The term Diary Collages begins to take on more meaning.
I suggest that students can use this as a daily practice, much like the regular use of sketchbook drawing.
Collage Materials
Five 4" x 6" chip board/cardboard rectangles cut carefully and using right angles
small strips of cardboard to use for spreading glue
magazines and books to cut up with lots of color/textural variation (best are shelter magazines, glossy fashion mags and catalogs, old books with art reproductions, etc)
AND/OR painted scraps of discarded paper, ephemera
glue (sobo, elmers, white glue, acrylic matte medium)
olfa blade and scissors
lots of clean scrap paper
an old credit card or something similar to burnish, or bone folder
other paint/drawing media to integrate into collages
How to glue effectively and discussion of torn edges.


